Curious when to remove the lower leaves from your fiddle leaf fig?
What do you like best, the look of a tall, tree-shaped fiddle leaf fig, or a bushy one with many leaves covering the bottom?
If you’re like most ficus lyrata owners, you prefer a tree, and hope to someday grow your fiddle into that iconic trunk-and-canopy shape.
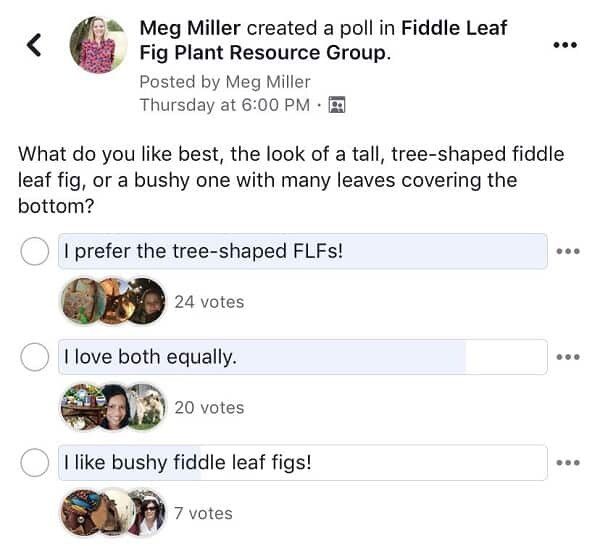
See? You’re not alone.
But to achieve that look, you’ll need to remove those lower leaves.
Before:

After:

You may be wondering how and especially when to remove the lower leaves from your fiddle leaf fig. Thankfully, we’re here to help.
Why Lower Fiddle Leaf Fig Leaves Exist
Before deciding when to hack those bottom leaves away, you should know what they do.
Lower foliage serves the same purpose as that bright, new, beautiful upper growth: the leaves work to combine that green chlorophyll (“the meat of the leaves”) with sunshine, carbon dioxide and water to create the plant’s own sugary food, also called sap.
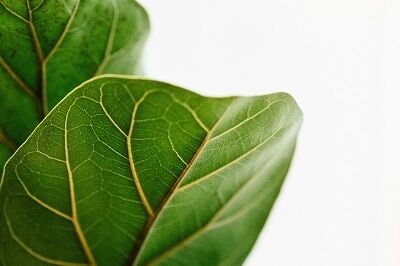
So if you would like these foliar producers to continue soaking up solar rays and feeding that energy to the trunk, roots, and new growth, then leave them there.
Here’s another benefit of the lower leaves: usually, the most common watering problems manifest here. In other words, many fiddle owners spot overwatering and under watering based on early warning signs from these bottom leaves. Removing them denies you one of the plant’s early alert systems.
Remember, those lower leaves are HELPING that tree to become a tree-shape and should be left until the very last step of the shaping process.
And again, knowing what these lower leaves do for the plant can help you decide if and when to remove them.
When to Remove the Lower Leaves From Your Fiddle Leaf Fig
Read on to find out when to remove the lower leaves from your fiddle leaf fig and how to do this.
So let’s say you’re pleased with your tree’s height/trunk width, and don’t desire many more dramatic growth spurts. Let’s also suppose you are prepared to nix one of your plant’s energy sources. And finally, let’s say you understand your plant’s many watering variables and don’t need early signs to tell you if something’s wrong.
Great! You’re ready to prune.
First, take a “before” picture. You’ll be glad you did.
Next, stand back and visually measure your plant against your room’s furniture and spacing.
To decide how much naked trunk you’d like to expose, check out our article titled “What Designers Mean by ‘White Space’ (and How the Fiddle Leaf Fig Exemplifies This Interior Decorating Trick)”:
Where to Prune and Exactly What to Do
Ready? Grab your gardening gloves and let’s get started.
Begin by removing the lowermost leaves.
If these bottom most leaves are already in rough shape, they will come off more easily than those you will remove in a moment. To snap them off, first position your nondominant hand on the trunk to stabilize it. Next, place your dominant hand under the leaf as close to the stem as possible. Your thumb should rest on top of the leaf’s petiole, or stem.
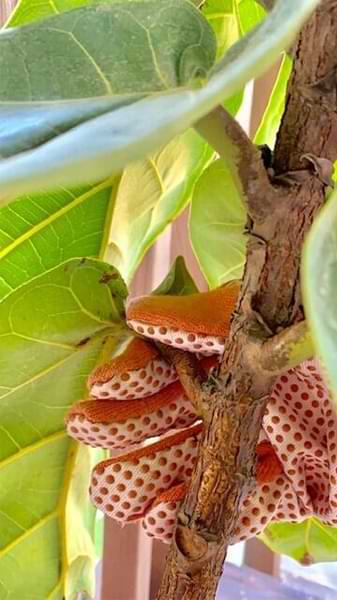
Now, apply downward pressure with your thumb until the leaf breaks off. You can expect it to feel much like the snapping of crisp asparagus.
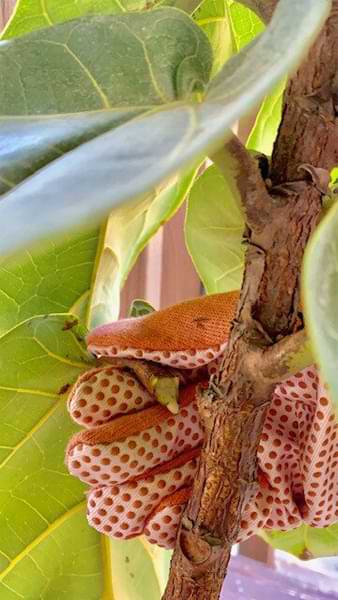
Immediately, you’ll see a sticky white sap appear, but don’t worry, your ficus lyrata is not in pain.
Take care with the sap; it can be a skin irritant.
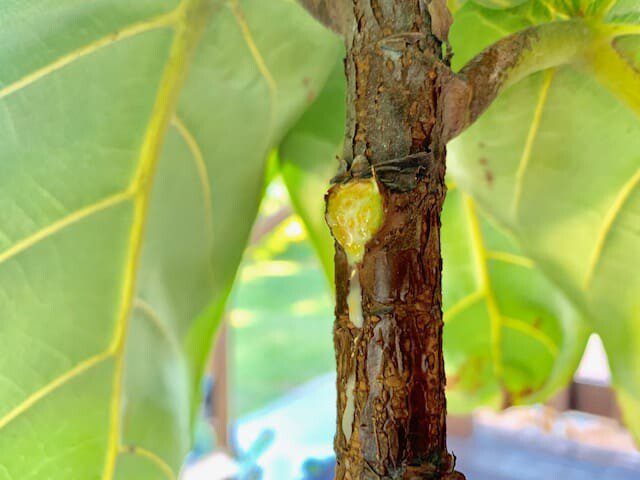
Within a day or two, you’ll notice a protective scab covering the wound.
This is a permanent circular mark, one you can see in greenhouse ficus lyrata trees everywhere.
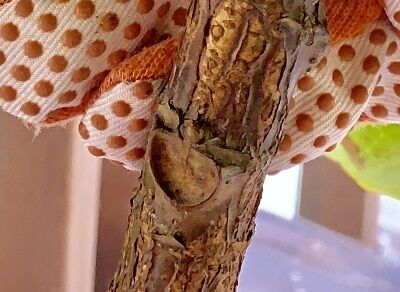
These scabs tell the story of other caregivers that prefer that lolly-pop shape to the bushy shrub version of the fiddle leaf fig.
This is a cosmetic modification that will not shock a healthy plant. Continue optimizing for standard environmental factors that contribute to tropical plant growth, and your fiddle will recover from this minor procedure in no time.
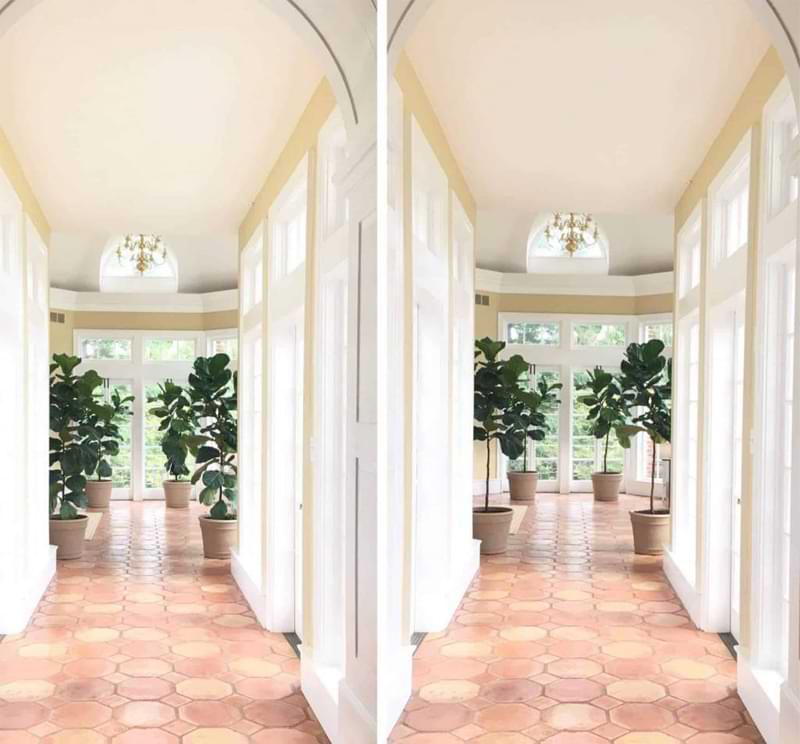
Don’t forget to take an “after” picture to share in the free online community devoted to fiddle enthusiasts like us.
We’d love to ogle your tree’s transformation! Hope these tips on when to remove the lower leaves from your fiddle leaf fig have been helpful!


