If you’ve decided you’d like to propagate a fiddle leaf fig plant, there’s no time like the present. The best time to propagate your plant is in the spring when your plant is naturally growing and there’s plenty of light available. But to ensure a successful outcome and a smooth process, there are a few things you’ll want to do to prepare.
Step-by-Step Guide to Propagate a Fiddle Leaf Fig Plant
1. Plan to Try at Least Three Cuttings
If you’re putting in the time and energy to propagate a fiddle leaf fig plant, it’s wise to diversify your efforts. Try at least three cuttings so that if one or two aren’t successful, you still have a backup plan.
2. Choose Your Containers
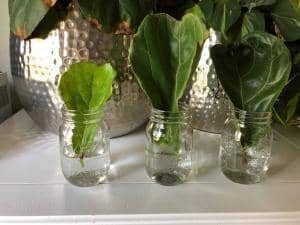
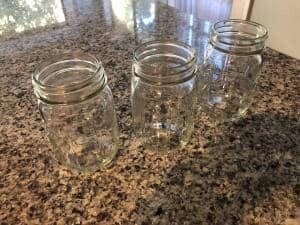
You’ll want to use at least one clean container per cutting so that if one cutting goes south, it won’t affect the health of the others. Choose clear glass containers with wide mouths so that you can check the water and your plant will have some support. I recommend mason jars like these.
3. Consider Your Location
To give your cuttings the best environment for success, you’ll need a bright place to put them for 4 to 6 weeks. Plenty of indirect light is best, but avoid any direct sunlight. Your location should be protected from the sun, which will scorch your cuttings.
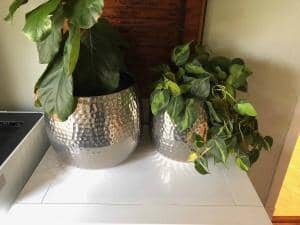
I chose this south-facing window that is protected by a 4-foot eave on the outside. The cuttings get bright light all day but no direct sun. You can see a fiddle leaf fig and philodendron are already thriving here.
4. Strategize Your Cuttings
When you get ready to propagate a fiddle leaf fig plant, you may realize the process is more complex than you previously thought. Which leaves should you cut? Should you take larger or smaller leaves? Should you take them from the top or the bottom of the plant?
There are a few factors that will go into your decision on which leaves to cut. First, take a look at your overall plant and take your cuttings from where you’d like to prune. This means that if you have a large branch you’d like to remove, you can take the cuttings from that branch without any part of the plant going to waste.
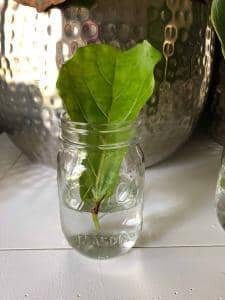
Another consideration is that relatively smaller and younger leaves will do better for a few reasons. First, they are smaller and so have less nutrient and photosynthesis demands. Second, younger leaves are still actively growing, and so have higher concentrations of growth hormones. Choosing a newer leaf can give faster propagation results. Here you can see a younger cutting that I chose.
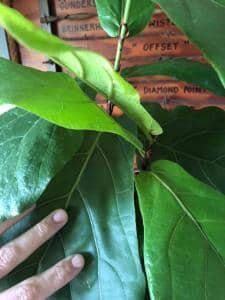
Finally, you’ll want to make sure to get a long enough stem to immerse in water. Even if you only take a leaf, you will need the leaf stem to be at least a half inch long so that you can put the leaf stem into water without submerging the leaf itself.
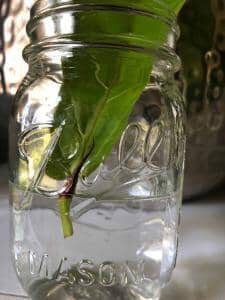
You can see in this cutting, I don’t have enough stem to give the leaf access to water without submerging the leaf itself, which will probably fail.
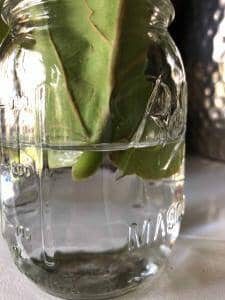
In this cutting, a longer leaf stem allows the leaf to stay dry while the stem is fully immersed in water. It’s critical to check the water every few days to make sure the stem stays fully submerged.
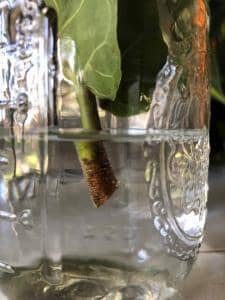
Choose where to take your cutting based on the size, shape, and options for your plant. Don’t take more than three cuttings from one plant unless it is very large, as you could shock it.
5. Use a Clean, Sharp Tool
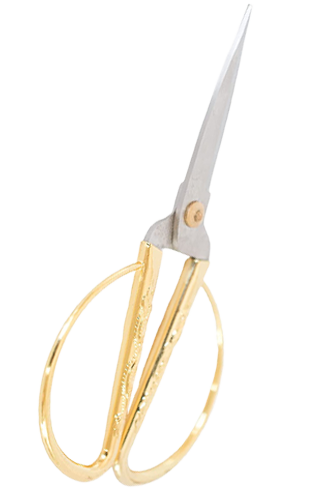
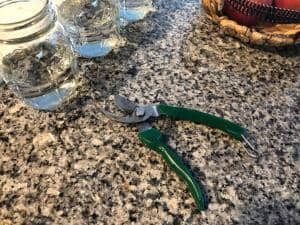
When you take your cutting, you’ll want to get the cleanest cut possible and avoid crushing the stem during the cut. Use a clean, sharp tool like pruning shears.
6. Have Your Water Ready
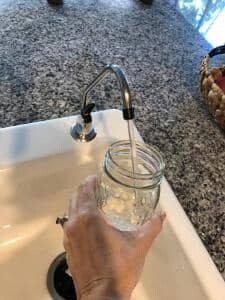
Make a quick cut, then immediately put your cutting in clean, room-temperature water that is free of salt or chlorine. I use reverse osmosis filtered water. If you have a water softener system, you’ll want to purchase distilled water so the salt won’t affect your plant.
7. Use Rooting Hormone
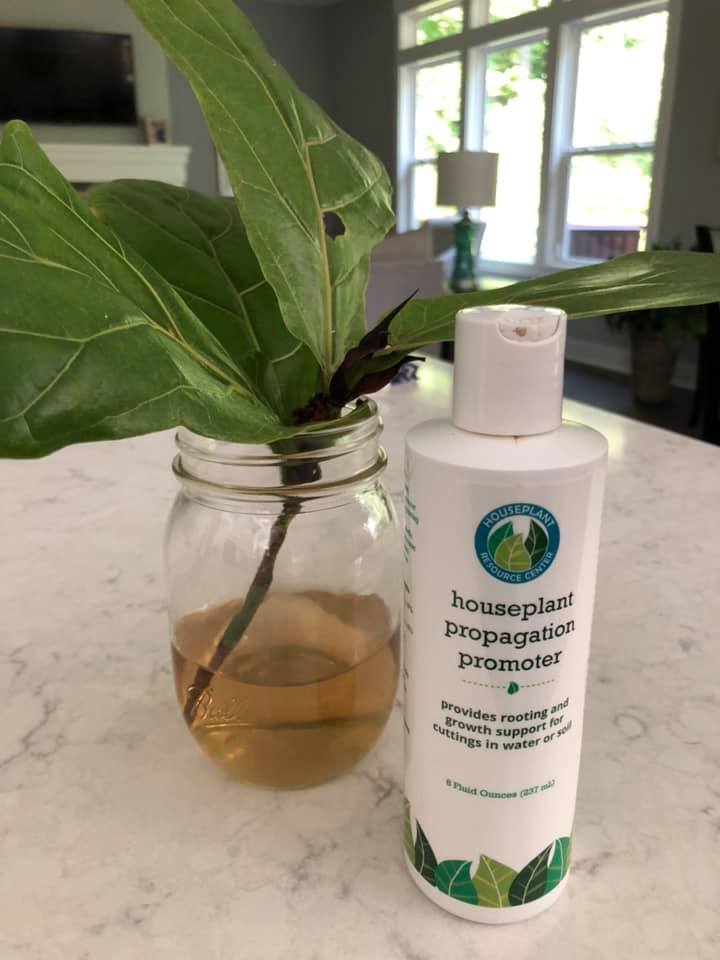
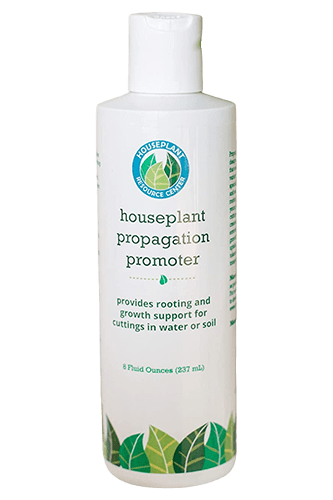
I’ve tried to propagate without using rooting hormone and it did not work for me. To use rooting hormone, dip your stem in the root cutting powder, then follow the rest of the steps. We recommend using our Houseplant Propagation Promoter to get started.
About our new Houseplant Propagation Promoter
The exclusive formula of Houseplant Propagation Promoter helps support strong growth and photosynthesis, and it protects new cuttings against bacteria and toxins that can cause new cuttings to fail. With this easy-to-use product, you will be able to clone your best plants more quickly, even tough-to-propagate species like fiddle leaf figs. It also comes with a free Complete Propagation Guide, which includes photos and step-by-step instructions. Click here to buy now.
8. Hurry Up and Wait
Once you’ve taken your cuttings and put them in their new homes, it’s time to wait for the propagation to happen. Keep an eye on your cuttings every few days to check the water. If the water looks cloudy or moldy, replace immediately. Rotate each cutting to give it adequate light. Make sure your cuttings have ample airflow to keep mold and bacteria from thriving. Finally, cross your fingers and think positive thoughts!
For more information on how to propagate a fiddle leaf fig plant, read the six-step quick start guide here. Be sure to take “before” photos and share your results in our Facebook group, the Fiddle Leaf Fig Plant Resource Group.
Grab the Essentials for Your Fiddle Leaf Fig:
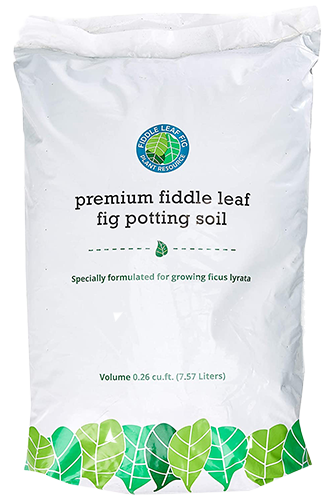
- Premium Fiddle Leaf Fig Potting Soil
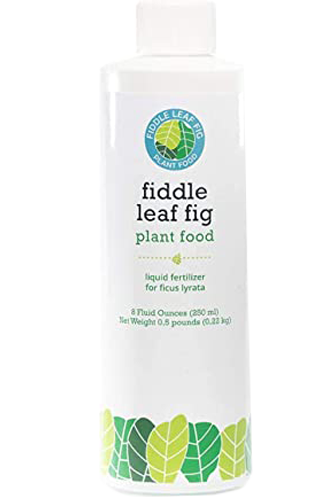
- Fiddle Leaf Fig Plant Food
- Root Rot Treatment
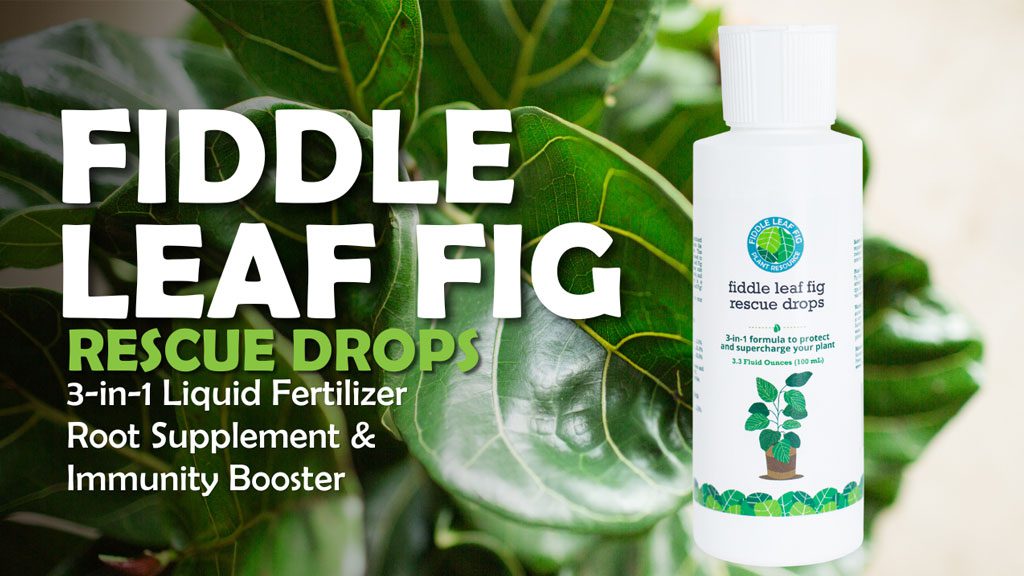
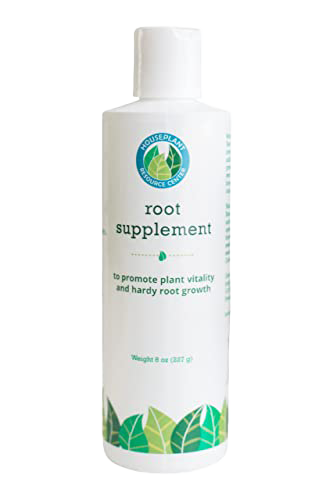
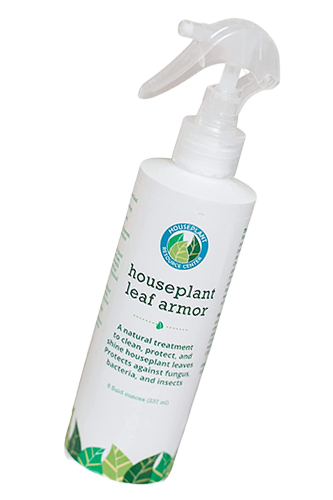
- Houseplant Leaf Armor to protect against insects, bacteria, and fungus (As an added bonus, it also cleans and adds shine to your plant’s leaves!)
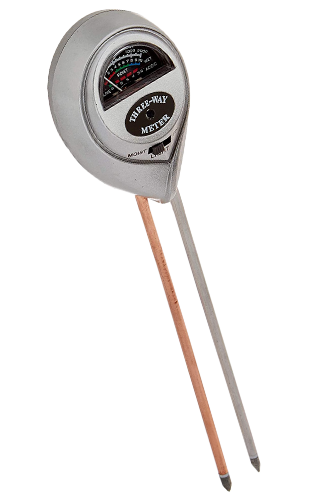
- Moisture meter to always know when your plant is thirsty.
- Houseplant Propagation Promoter to propagate more quickly and with more success.
To learn more:
- Sign up for our free Fiddle Leaf Fig Care 101 Webinar for advanced fiddle leaf fig care.
- Make sure you’re subscribed to our newsletter.
- Read The Fiddle Leaf Fig Expert, your complete guide to growing healthy fiddle leaf fig plants. The book is available in full-color paperback or Kindle edition on Amazon now!
- Click to join our community on Facebook: Fiddle Leaf Fig Plant Resource Group.

